Dear Friends,
Happy Black Friday....hoping your day is off to a great start and that you had a wonderful Thanksgiving Day with your family & friends. So EXCITED to debut Heartfelt Creations-Black Friday New Product Releases along with the once a year Black Friday Savings!
Heartfelt Creations Black Friday Savings
You can see all the details here: https://www.heartfeltcreations.us/black-friday
Save up to 20% on new products.
Doorbuster Special: Place a $100 order and choose a FREE paper pad of your choice!
If you are a Platinum member, your 20% discount will also apply. Not a Platinum member, click here for details: https://www.heartfeltcreations.us/platinum
These savings will only be valid on Black Friday, November 27th, 2020.
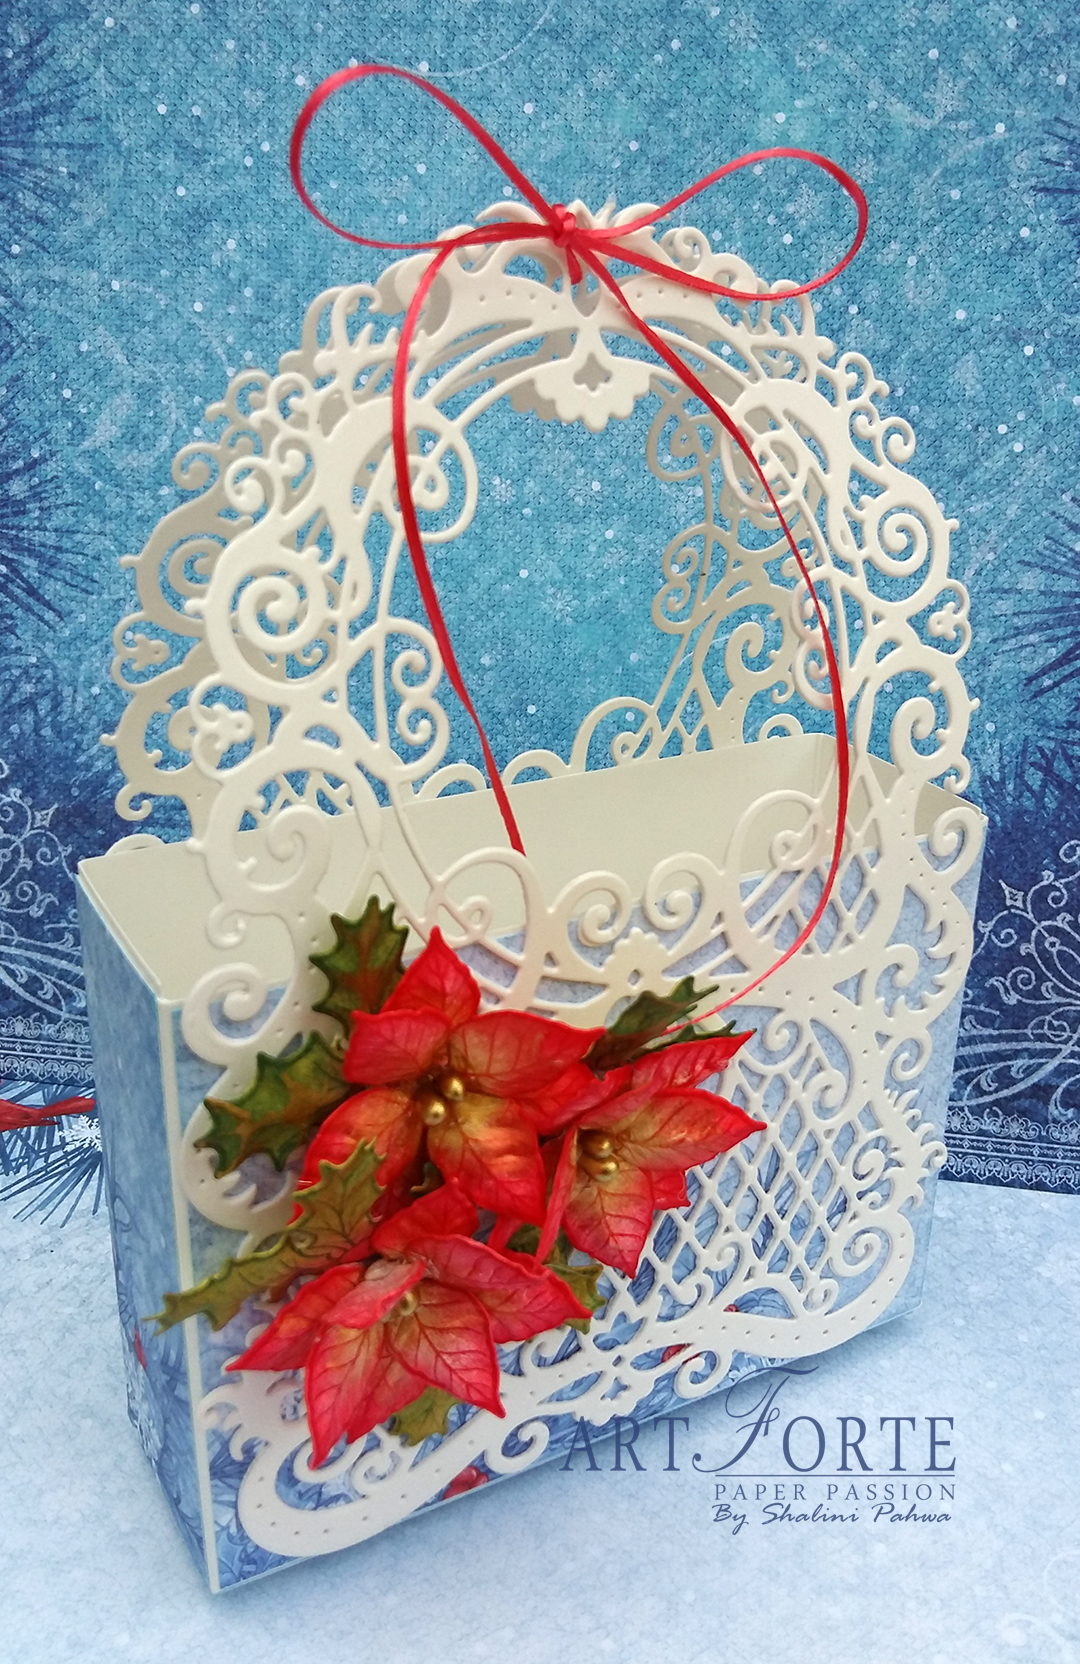
Here's my inspiration for today...


Products Used:
Lattice Swirl Gateway Die, HCD2-7328
Festive Winterscapes Paper Collection, HCDP1-2118
Christmas Poinsettia & Holly Die, HCD1-7249
Christmas Poinsettia & Holly Cling Stamp Set, HCPC-3881
3D Christmas Poinsettia Shaping Mold, HCFB1-478
Assorted Pearl Stamens-Medium, HCS1-459-2
Ranger Archival Ink Pad - Carnation Red, RACP399
Ranger Archival Ink Pad - Leaf Green, RACP436
Ranger Archival Ink Pad - Library Green, RACP475
Spellbinders Tool N' One, 359848
Scor-Pal Measuring & Scoring Board, 173842
Cosmic Brown Nuvo Mousse, NU810
Designer Dries Clear Adhesive, 159723
Other Products: White Cardstock, Big Shot Machine, Glue Gun, Ribbon.
For more ideas on creating with the Elegant Gateway Dies and Accents, watch the tutorial at https://youtu.be/H6fZTiYUH_w.
For more tips on creating with the Candlelit Christmas collection, watch the tutorial at https://youtu.be/PJeFD_d3AiM.
Instructions: Take two white cardstock size 5” x 7.75”. Score at 1.5” and on the longer side score at 1.5”, 6.25”. Cut tabs by cutting up to the horizontal scored line on the long edge. Apply glue to both short edge and long edge. Overlap the flaps on both long edges. Fold the score edges and basket is ready. Now adhere pattern paper from Festive Winterscapes Paper Collection HCDP – 2118 on all four sides. Cut two Lattice Swirl Gateway Die HCD2-7328 on white cardstock and adhere on the basket using Designer Dries Clear Adhesive. Add ribbon on the top attaching both the dies creating handle.
Stamp some poinsettia flowers and leaves on white cardstock using Christmas Poinsettia & Holly Cling Stamp Set HCPC-3881 using carnation red, leaf green inks and cut them with coordinating die. Color them with same ink, add Cosmic Brown Nuvo Mousse NU810 and shape them using 3D Christmas Poinsettia Shaping Mold. Add gold stamens at the centre. Arrange the composition as pictured.


