Wednesday, 10 February 2016

A DREAM JOURNEY THROUGH 2016

Dear Friends,

Papericious – The 2016 Planner-Colour Splash. Today I give you one more compelling reason to not only own this delightful product but also show your own creativity to make the Planner reflect yourself and make your desk stand out with your imaginations. Today I give this Planner an Arty Twist.


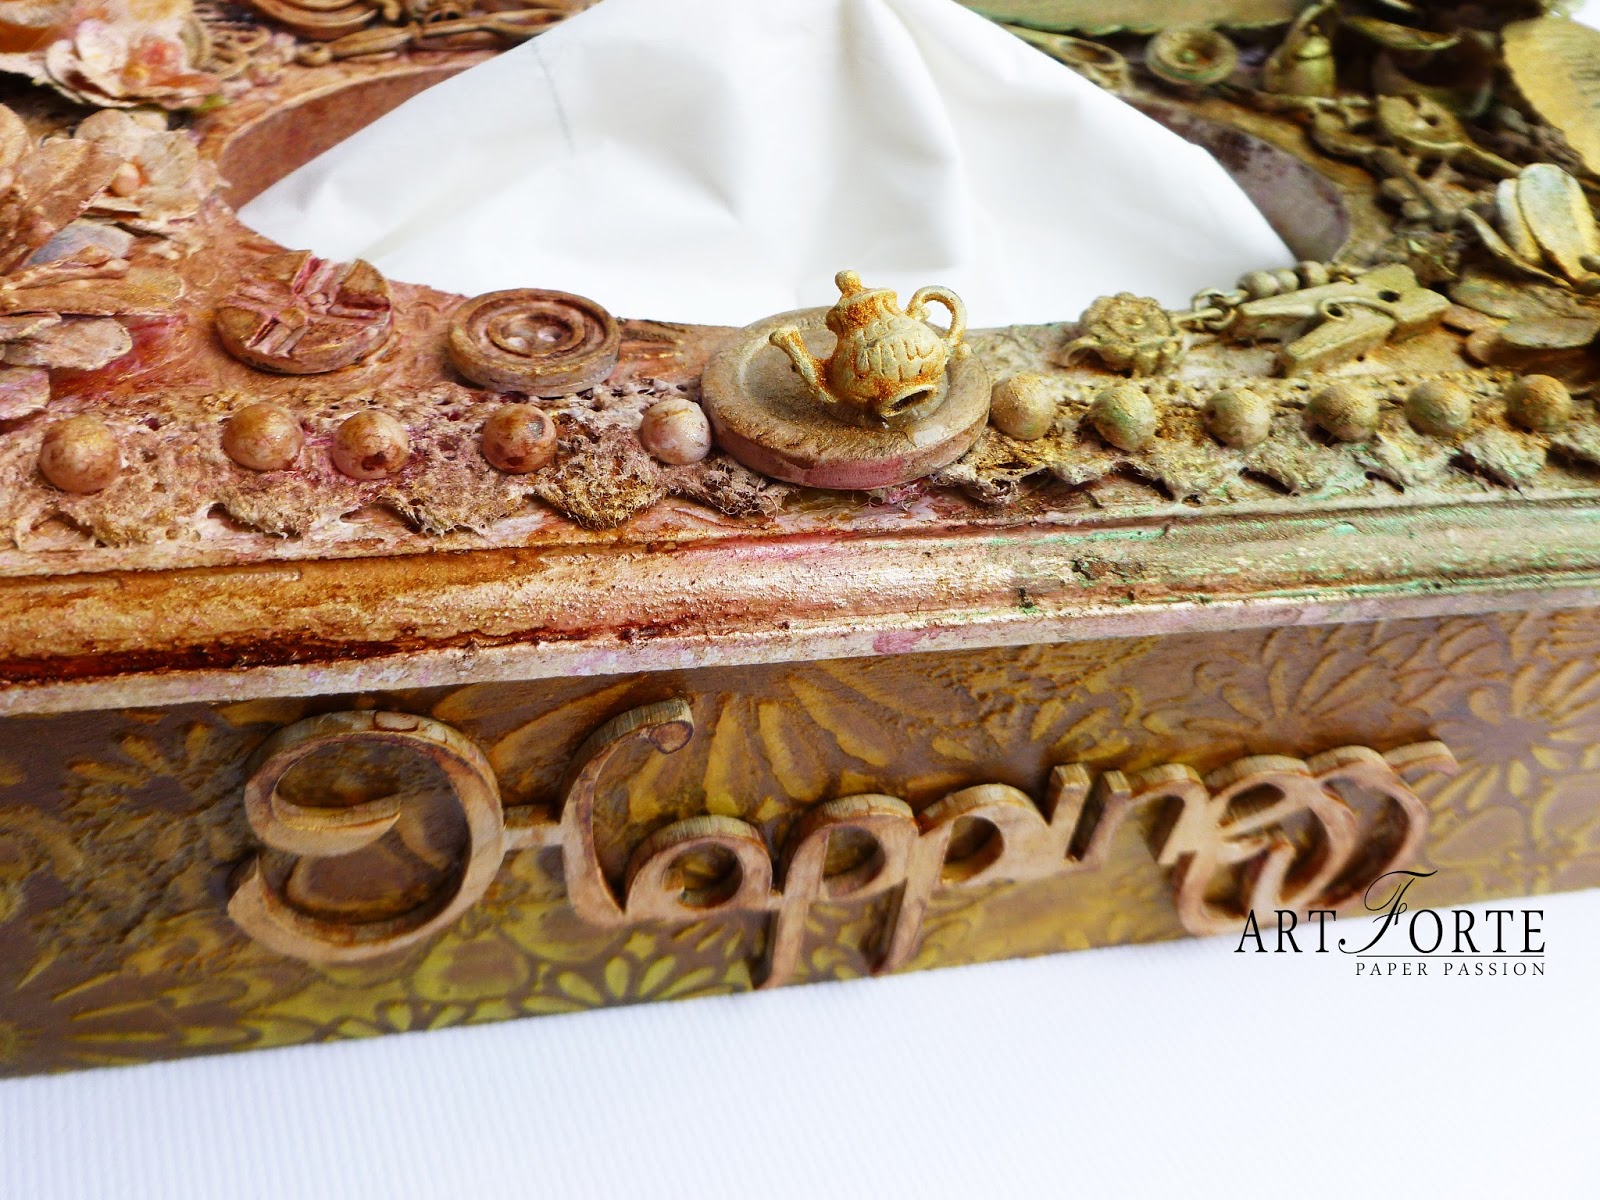
I have created the cover of the Planner into a reflection of your inspirations, your dreams and your journey as you go through the days and weeks of 2016.
 The fairy wings, impressions of butterfly,butterflies embellishments , impressions of leaves amidst an array of vibrant colours, would inspire you to go through the journey of 2016 fulfilling your dreams and achievements.


This cover is created using modeling paste, flutterfly and moving leaf stencil, fairy wings and butterfly embellishments and flying butterflies made of jute. Using shimmers spray,Silk acrylic colours, mica powders, lindy's spray, glass glitter, flakes, I have tried to reflect my impressions of the year to come – lively, vivacious, exciting and dreamy. I am sure you would also create this planner using the Papercious 2016 planner, reflecting your creative impressions and motivate you to go through 2016 – alive and partying!!!!


Happy journey into your 2016 Dreams.

Challenges:
http://mixedmediaplace.blogspot.in/2016/01/creative-gym-16-dt-call.html

http://welove2create.blogspot.in/2016/01/challenge-3-anything-creative-mixed.html

Friday, 20 November 2015

You Make Me Smile-Mixed Media Tag

                                              
Hi.
Presenting a tag that encompasses the spirit of fall.The tag used a host of colours that put a smile on your loved one face.
Participating in http://colourarte.blogspot.in challenge for the very first time.
I've used silk acrylic colors for the very first time and i just loved them. 


I hope you all will like my work, and would like to hear some comments.

Have A Great Day!!!

Challenges entired
http://colourarte.blogspot.in
http://ourcreativecorner6.blogspot.in/2015/11/topsy-turvy.html

Saturday, 19 September 2015

A Sling Bag of Memoirs.

Dear Friends,

Today I proudly present to you a unique product  which i have called "A Sling Bag of Memoirs.with mixed media technique

   
 Made in the shape of  a sling bag, the outer part of this lovely album is made using newest collection of pattern papers from Papericious. This stack of pattern papers called "The Vintage Attire" has some unique colors and designs which gave me an idea of this pretty product. Made from acid free paper the colors of this stack just blew me off. It oozed a deluge of imagination in me and this product just came flowing out.

Beside the lovely pattern paper from Papericious I have also decorated it exquisite charms like metallic sling attached with metallic fairy, metallic look corners and used encrusted jewel kit-used goldembossing powder and elements and inka gold on the charms. I have used embossing folder with inka gold and spread some gold glass glitter at the bottom panel.

Inside the bag is hidden a mini album made using The Vintage Attire stack paper decorated with Papercious embellishment set, distress ink, embossing powder and elements, Tim Holtz Ring Fasteners...

The album enough to hold 40-45 choicest photos and your notes and tags. Now carry your cherish memoirs with you with this fascinating sling bag...


I hope you all would love my creation and would love to hear some words from you...

Sunday, 17 August 2014

MULTIPURPOSE ENVELOPE CUM INVITATION CARD

Dear Friends

First of all let me wish you a very Happy Independence day. Although we are all of a generations that have not felt the pangs of pre-independence era, this is a day for all of us to resolve our commitment to our country and society as a whole to do that little extra to imbibe a spirit  of love and care amongst all our fellow countrymen.

In this age of Facebook, Twitter and Whats App, we seem to forget the meaning of relationships. Its easy to make friends and start a relationship but very difficult to maintain and nurture it. It takes time, care and effort to develop a relationship to be a lasting one. Today, I am presenting a simple and wonderful product that would help you make your loved ones feel SPECIAL!!!!

Presenting a Multipurpose gift envelope. It has an outer jacket in lovely radiant colors – pink, purple, green and off-white. The jacket has a cutout of a butterfly, which symbolizes freedom, joy in life and purity in thoughts. Beautifully embossed on the jackets are floral and geometrical shapes. The outer jacket has a small pull out inner card. The pull put card has a flap and a blank sheet, with carefully crafted borders, on which you can write your personal message.

You can use the card for personal invitation or even as Money envelope with your personal message. Get awed by praises you receive from the giver for the effort taken by you in such a wonderful way of inviting / gifting.

For any query related to this product, please inbox your message.


Wednesday, 19 March 2014

Just A Note

Justrite Challenge#116 CAS Cards

Hi
Back here after such a long time, as i'm busy with some projects. Everytime i used to think for participating in Justrite Challenge, and i used to miss them, but this time i promised myself that i'll definitely participate, So here i'm , for the very first time for Justrite Challenge, don't know whether i followed it properly or not,
here's the pix


Supplies used:
Spellbinders M-bossabilities-Flower Fun
Justrite Clear-Lace Vintage Labels Three
Justrite Clear-Antique Valentine tags One
Distress Ink-Brushed Corduroy
ranger archival ink-black
Lace, embellishments from my stash

Challenge Entered:
Justrite Friday Challenge#116 CAS cards

Friday, 30 August 2013

Happiness Tissue Box

Every one of us is using paper napkins. Whether it is Kitchen, Dining table, Car, Work desk or Kids’ study, paper napkins have become integral part of our daily living. Wish we could reinvent this staid and unattractive looking napkin box to go with our surrounding themes. That is exactly what I am trying to change today. Presenting “HAPPINESS TISSUE BOX” made with mix media. 


The fun with mix media is that you can give the product a look and color that you desire it to be given – in order to make the product gel with its surroundings. I have given a earthy look to the box. I have used laces, trinkets, flowers on the top with a liberal coat of Gesso topped up with Little Lindys Spray. The sides of the box has been painted with Little Lindys Spray using gel medium and stencils to give it a raised (embossed) look.
I am sure you would like this collection.

Products uesd here:
MDF tissue box, happiness
Gesso
Mod-podge
Laces
Crafters Worshop Stencil-Flower Frenzy
LiQuitex Light Modelling Paste-Gel Madium
Charms
Mulberry Flowers
Little Lindys Spray:
Starbust: hottie Patottie Hot Pink, Winter Jasmine Gold, Tiffany's Blue, Sea Mint Green,
Glitz spritz: Blazing Sun
Moon Shadow Mist: Phantom Fuchsia, Mystic Malachite, Van Dyke Sepia


Challenge Entered:
Lindy’s Stamp Gang color challenge: August
http://lindystampgang.wordpress.com/2013/08/01/lindys-stamp-gang-color-challenge-august/
Lindy’s Stamp Gang color challenge: August

Have A Nice Day!!!
Happy Crafting!!!

Friday, 16 August 2013

Mixed Media Layout 12"X12" with tutorial

Dear Friends and Crafters

There are times when one creates such a product that he/she may also be surprised at his own creation. Leonardo da Vinci if did not pick up his brush one day and decided that he would create “Mona Lisa”… he just let his creativity flow and what came out was a masterpiece that even today we get mesmerized by seeing it. The feeling of satisfaction of creating something which you feel is a reflection of nearly your best, is indeed immense. I am nowhere in comparison with such legends but I am having the same feeling today as I present to you my latest creation “The Moonlight” – a photoframe using mix media, which I consider is my best work till date.Here's the pix...


Here's the tutorial
For this frame, I first applied “Gesso” acrylic color on a chip board to prepare base for my working

.

 Then I pasted some laces using Mod Podge and heating tool.

Then I used some TCW (the crafters workshop) templates with “Liquites Light Modelling Paste” color to create shapes (honey comb, butterfly) on the base itself. This is important since later when I would use color sprays these bases would come out vibrantly giving a total different look to the creation, Without these undulations in base, the base will look flat.


Then I used flowers, trinkets etc, to define the boundaries of the place where the photo would be placed. Since these flowers would be painted and repainted subsequently, you may not use your best flowers here.


After making your desired combination of the flowers and trinkets in the created base, apply a uniform layer of “Gesso” on it. This would make all things blend together and create a base on which colors may be applied to give any sort of look.

Then I used color sprays (Lindys Stamp Gang) of various hues to get a “moonlight” look to the frame – white but still resplending the orange and golden hue of the sun.


I hope you would also like the creation as much as I loved creating it.
And Please give your value-able comments below


Happy Crafting!!!!!

Products used
Laces
Prima Trinkets